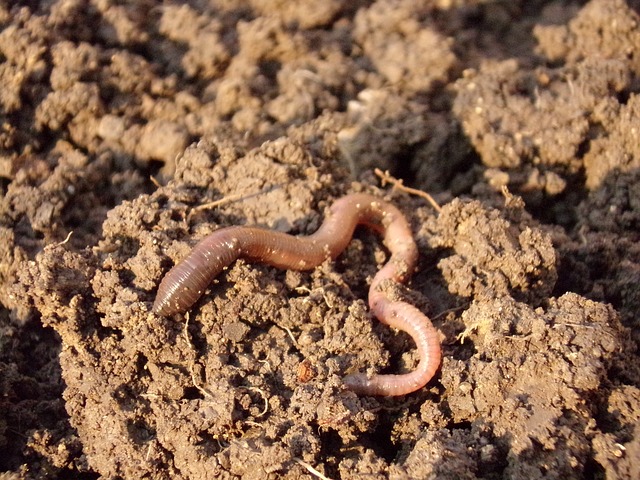
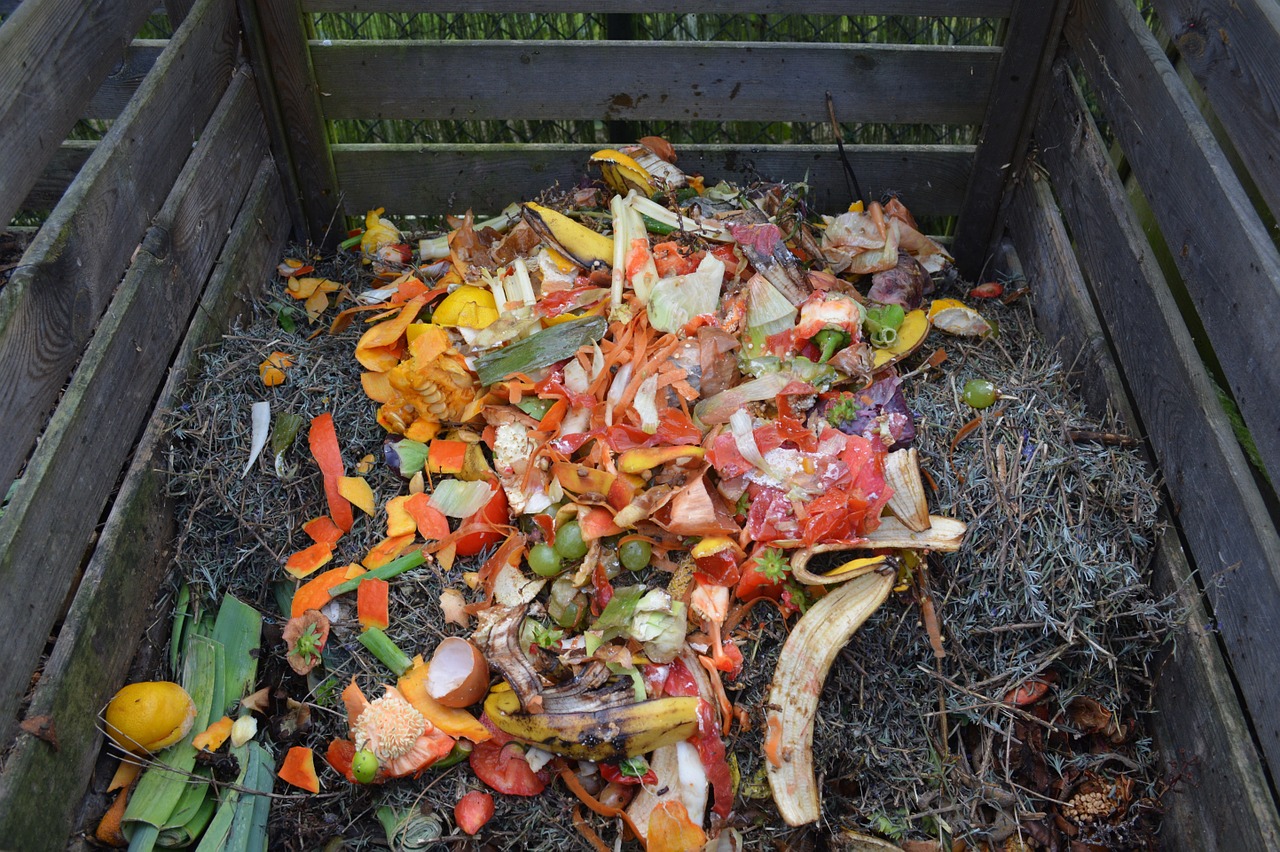
For the uninformed, worm composting is the practice of using worms to recycle food scraps and other organic matter into worm compost, also called vermicompost. Worms eat the organic material, which then passes through the worm to become compost. This compost can then be collected and used to improve soil quality, usually to aid in growing plants and vegetables. To effectively use worm compost, you'll need a worm farm. You don't have to be a master gardener to take advantage of the benefits a worm farm offers the good old USA. For the environmentally conscious person, worm composting is a must. It reduces waste, creates a quality organic fertilizer, requires little upkeep, and can be maintained just about anywhere. If properly kept, it doesn't even smell bad. Keep reading to learn how to make a worm farm for your home.
[amazon box=”B002LH47PY”]
What Is a Worm Farm?
We've already given you most of the answer but to be thorough, a worm farm is a community of worms kept as a way of recycling food and other organic matter into natural fertilizer. A worm farm can be purchased or homemade and is a great source of compost for those with vegetable gardens or small fruit gardens.
Depending on the size of your garden, additional worm farms can be added, since they are inexpensive and easy to maintain. Vermicompost is also used in the farming industry across the United States.
Advantages of Having a Worm Farm
How to Make a Worm Farm
[amazon box=”B00F0MB40S”]
Though you can purchase a pre-made vermicomposter, we're going to show you how to make a worm farm for a lot less. It's easy to do, with very little "building" involved. Keep in mind that worms hate the light, so use materials that will keep it nice and dark for them.
Needed Supplies
These are the essentials for how to make a worm farm. As you progress in your vermicomposting, you'll add a thing here or there to make the process easier. A trowel, for instance, makes arranging the compost a breeze. But for now, these are the things you'll need.
Two or Three Plastic Bins
A Drill
Shredded Newspaper
Damp Soil
Container for Scraps
Worms
[amazon box=”B001B1C4G0,B005NNF0YU,B00AMNCYNQ” grid=”3″]
Preparing the Bins
Follow these steps to prepare your bins. If you use three bins, the top two, the composting bin(s), will be home to the worms and need to be identical.
Drill a 1-inch hole a couple of inches from the top of the uppermost bin on one side. Drill another 1-inch hole in the opposite side. Drill a pattern of ¼ inch holes across the base of each bin for ventilation, drainage, and to allow upward migration of the worms. These holes should be regularly spaced about two inches apart. It's not necessary to drill holes in the lid since worms prefer the dark, and there will be plenty of ventilation through the sides and bottom of the bins.
The bottom bin, called the sump bin, is there to collect excess fluid called worm tea. No holes should be drilled in this bin.
Setting Up
Once the bins are drilled, you're ready to put them together. An important decision for how to build a worm farm is where to put your worm farm. You must keep it from freezing and protect it from extreme heat. Indoors is always the best option or perhaps in a basement or garage. Remember, with the proper setup and maintenance, your worm farm will not have an odor. Set up the bins as follows:
The top bin or top two bins are "nested" within each other and dropped into the sump bin. Place some "spacers"—bricks or a small clay flower pot, for example, between the bins to improve drainage and ventilation. Ensure your bins don't jam together, decreasing ventilation and making it harder to harvest the compost. Your spacers should help with this, or you can add wooden blocks to the edge of the second composting bin and the sump bin.
Starting Production
Now that you've mastered how to make a worm farm, let's put it to work.
Set up your worms in the top bin with a damp bedding such as shredded newspaper. Put in a little compost (household organic scraps) and a handful or two of damp soil with the worms. You only need a small amount of the dampened soil because the worms will start producing their own soon enough. After a few days, you will be ready to add more organic scraps. Cover the food with more shredded paper to discourage unwanted insects and keep the lid tightly closed.
Never allow the worm farm to dry out. Sprinkle water over the bedding occasionally if necessary, but don't soak it. After your worm farm has been active for a while, the worms will reproduce and compost will start to build up. When the amount of compost is significant, and if you're using a second composting bin, change the positions of the upper two bins so that bin number two is now on top of the stack.
[amazon box=”B003ZFW0YQ” template= “horizontal”]
Give the new top bin clean bedding, a small amount of compost material and immediately start putting organic scraps into it. Over a few days, the worms will move upwards towards the new food. Only a few worms will lag behind in the lower composting bin, and it will be ready to harvest your compost within about three weeks after swapping the bins.
To access a specific bin, in order to add food, bedding, or to remove the worm compost, just lift off all the overlying worm bins, one by one until the desired level is reached. Be sure to replace them in the same order that you had them in.
Repeat the process of alternating the top two bins on a regular basis. Take out the worm compost whenever it builds up to the desired level. You'll also want to siphon the worm tea, known as vermitea, from the sump bin occasionally. Worm tea is a valuable, highly concentrated liquid fertilizer that can be diluted for immediate use in your garden.
Dos and Don'ts of Worm Farming
As you can see, the lessons about how to make a worm farm were pretty easy. The continued operation of your worm farm will be as well, with just a few things to remember.
The Dos in Worm Farming
The Dont's in Worm Farming
Conclusion
Now that you know how to make a worm farm and that it's pretty easy, there's no excuse not to give it a go. The environmental benefits are well established, and the effort required is minimal. It produces a great product that you can use to grow bigger and better-tasting fruits and vegetables, and more of them. Even if you don't have a garden, it's a natural way for you to eliminate household waste and make the USA a cleaner place.
Knowing how to make a worm farm is something you can make a hobby out of while sharing and teaching others of its benefits to planet earth. It's an easy, inexpensive, and fun way to make a small difference in your community. Now, go grab yourself some worms, build them a place to live, and enjoy watching them go to work for you.


Leave a Reply