The simple addition of window planter boxes can make your home more inviting.
You might ask how...
Or you might already know.
Red Hibiscus flower. Image Public Domain via Wikimedia Commons
Whether you plant flowers or just plants that look green and pretty, they are natural mood enhancers.
I'd give you statistics on that, but I just made it up because plants make me feel better.
Works for me, so it must be true for everyone, right?
Plants do convert CO2 into oxygen through photosynthesis.
I don't think I'll bore you with the science of that.
But, we will remind you to follow safety precautions for operating power tools and dealing with paints and stains.
NO MISHAPS!
So, if you're ready, come on!
We have window planter boxes to make!
Planning Your Planters: Finding The Style That Suits Your Home
You know what type of house you have.
You might have an ornate Victorian-style house with intricate gingerbread scroll work lattices.
Ornate Victorian-style home in Savannah. Image: CC BY-SA 3.0 via Wikimedia Commons
Maybe you live in a boxy, plain-Jane home with asymmetrical windows with or without shutters?
Perhaps you have a simple ranch-style home with shutters containing slats.
Is your name Anne and does your house have green gables?
Brick colonial?
Craftsman-style bungalow?
Whatever your house looks like, you can make window planter boxes to match.
And it isn't that difficult!
Tag along and let's discuss this, shall we?
Cost of building your own vs. buying pre-made designs
There is no doubt that you can probably buy window planter boxes cheaper than you can build them.
Simple plastic window planter boxes are available for as low as $5 at some online and local retailers.
That's not your only option:
Wooden boxes will cost you a bit more, and the larger you need, the more they will cost.
But let's discuss the advantages of building your own.
Image CC BY-SA 3.0 via Wikimedia Commons
So, what about lumber?
There are many types of lumber available. Many people opt for cedar (and we highly recommend it too) because bugs hate it.
Others opt for the hardwoods, such as maple, poplar, and oak.
Some prefer pine because it is easy to work with.
Still, others will tell you to use plywood (which is also fine as long as you seal it properly against the weather).
And still, others will use old, discarded fencing or up-cycled wooden pallets.
It all boils down to cost.
Pine is the cheapest wood, but it is soft and not as durable as the hardwoods. Cedar is, of course, one of the more expensive woods. Buy whichever fits your budget.
You'll also need to know:
How wood is sold
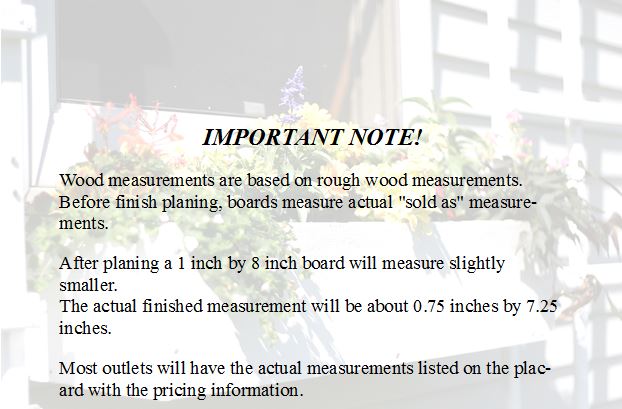
Wood is usually sold by the "board."
Boards come in standard lengths, usually 4, 6, 8, 10, and 12 feet long.
If you need two boards at 6 feet each, it is sometimes less expensive to buy one 12 foot board and cut it in half (you can do this in the store, or ask employees to do it for you).
If you are using fence slats, they are normally a standard size but come in varying lengths. Check your measurements.
Where To Find Plans, Supplies, And Hardware
So, you've decided to DIY your window planter boxes.
But where do you go from here?
You need a design and plans for your box.
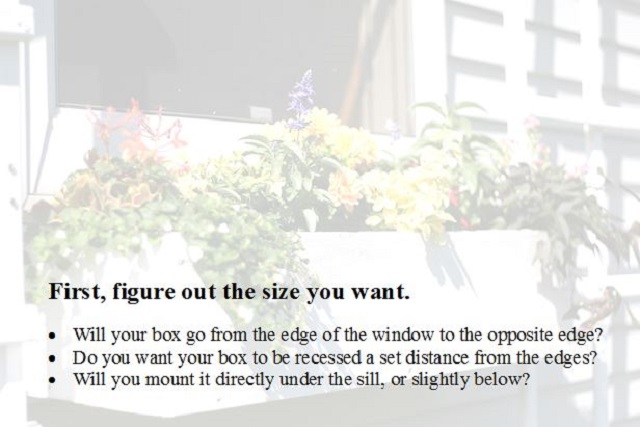
Where do you intend to hang your box?
How big do you want your window planter boxes?
You began your search online.
That's why you're here.
We found a lot of plans online and will link to many of them throughout this piece.
But your local book store has a plethora of choices also.
And your local home improvement store.
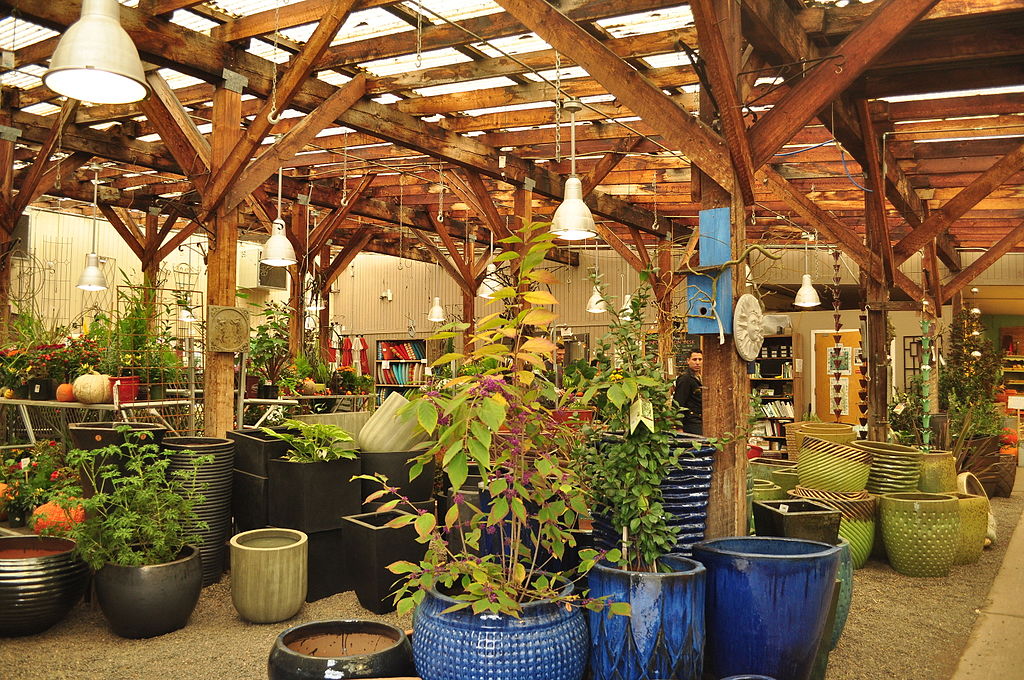
City People's Garden Store, E. Madison St. in Madison Valley, Seattle, Washington. Image CC BY-SA 3.0 via Wikimedia Commons
Check garden stores, too. They may not have window planter design plans, but they will help you when it comes time to fill your creation with flora!
Finding wood supplies is usually a simple trip to your local big box home improvement store. They are practically on every corner.
You can buy wood online too!
Or you can use recycled wood. We mentioned old fence slats and pallets earlier. Add to that old siding pieces, or that old bunk bed frame you have in the garage.
Almost anything can be up-cycled and made into something useful!
Don't forget your hardware.
You can get glue, screws, nails, and brackets at almost any hardware or home improvement store.
You can also check online outlets that specialize in window planter boxes.
You're ready to go!
Grab those tools and let's make some sawdust!
From Raw Wood To Window Boxes In 8 Easy Steps
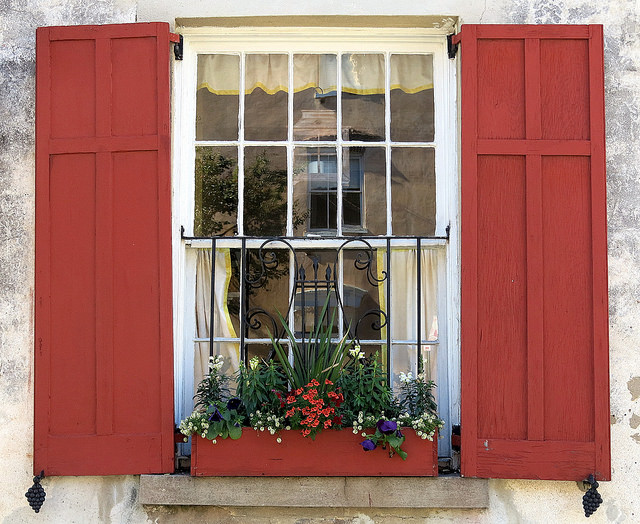
Window with orange-red shutters and window box, Church Street, Charleston, SC Image CC BY-SA 2.0 from Spencer Means via Flickr
This section will cover the basic steps, from start to finish, for all window planter boxes.
There will be design-specific changes, but the basic steps will remain the same.
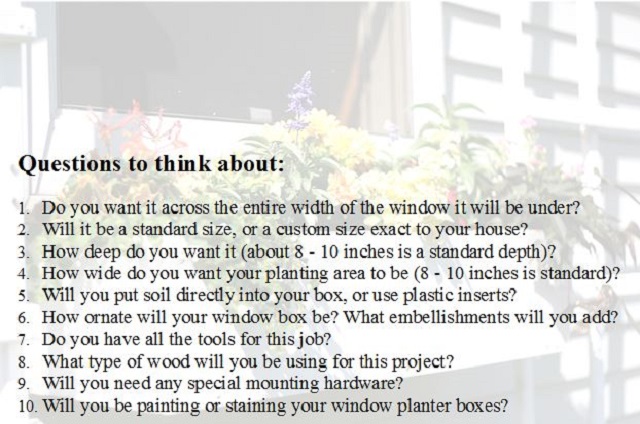
Before you begin making a mess:
If you can't answer all those yet, don't let it keep you from marching forward.
You got this!
1. Selecting your design
We've already discussed where to find plans.
A quick recap:
- Search online (and at the bottom of this article)
- Check your local bookstore
- Check home improvement stores
- Ask at your local garden center
Don't worry if you couldn't find exactly what you wanted -- you can make your own design plans.
We'll discuss that later...
Ornate, plain, lined? So many decisions to make.
If you haven't quite figured out the design yet, keep reading.
No rush! You want this perfect!
We have several examples, videos, and more.
We'll make you a list of online resources at the end of this article.
2. Selecting your wood and gathering your materials
Choosing your wood is a bit more difficult.
Hardwood, softwood, cedar?
We can make this simple:
If you are painting your finished product with waterproof, exterior house paint, use pine, or a simple, light hardwood, such as poplar.
Check out the video below:
Or even finish-grade plywood.
If you plan to stain your finished product and leave it a "natural" color, use a red or yellow cedar, red oak, or one of the darker woods with a good grain pattern.
The simple frame design below is perfect for any finishing options.
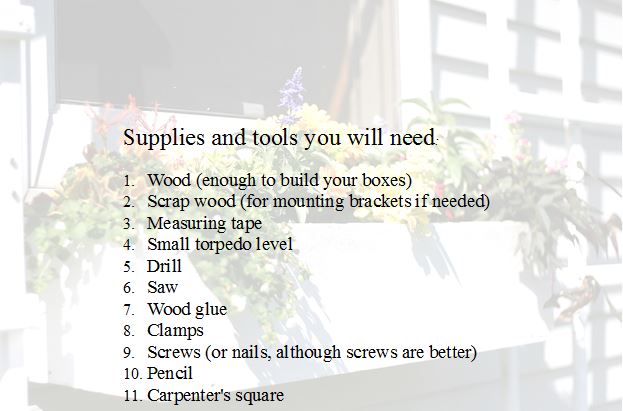
Did you find the circular saw and drill in the garage?
Do you have wood clamps?
Where is that measuring tape? Oh, I remember, junk drawer in the kitchen. Be right back.
Torpedo level? What the heck is a... oh, right, that little bubble thingy.
Has anyone seen the wood glue? Craft room? Why would it be in there?
Screws? We had a whole kit with dozens of them. Where did that go? I seem to remember it wouldn't fit in the junk drawer...
Do you feel like a disorganized mess?
I am pleased to make your acquaintance!
You are me when planning a project!
3. Measuring twice
Always measure twice. You found the measuring tape, right?
Once you cut, you're done. If you measured wrong, it's going to show.
By measuring twice, you KNOW you got it right before making that first cut.
If you're not sure how to measure correctly, we found a great instructional video:
Would it be pretentious of us to say that we cannot over-stress this point?
Too bad, we said it anyway.
ALWAYS measure twice.
4. Cutting once
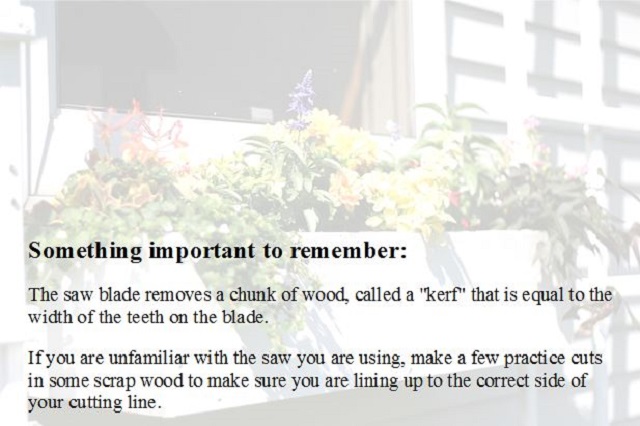
While you measure twice, you only want to cut once.
The type of saw you have will make a little difference.
A compound miter saw will make better cuts and is easier to work with.
But a simple circular saw, or even a saber saw, also called a jigsaw, is just as functional.
Use what you have available. They will all work just fine.
Even if all you have is a manual hand saw.
While most of the cuts discussed in the basic plans will be straight, right-angle cuts, some of the available plans do have angled, or beveled cuts.
As you develop skills, and your confidence increases, you will be able to tackle these out-of-the-ordinary cuts without blinking.
It's TRUE!
This video discusses general cuts and adding angles with a miter saw:
As with any skill, the more you perform the task, the easier it will become.
5. Assembling your window planter boxes
The assembly process will vary slightly depending on the way you intend to mount your window planter boxes.
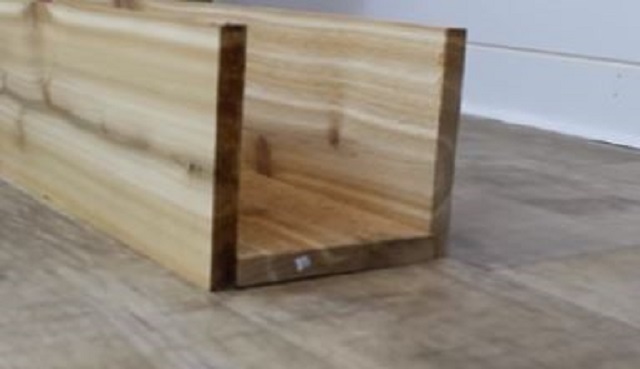
U-shaped trough that forms the base of all window boxes. Image from YouTube video
Simple U-shaped trough used for window planter boxes.
Standard box designs use a "U-shaped" channel, with caps on the ends.
The way the end caps are mounted might differ, but the basic channel construction remains very similar.
While all boxes will have a channel, some may be "V-shaped" or have extended sides to allow for mounting blocks to be used.
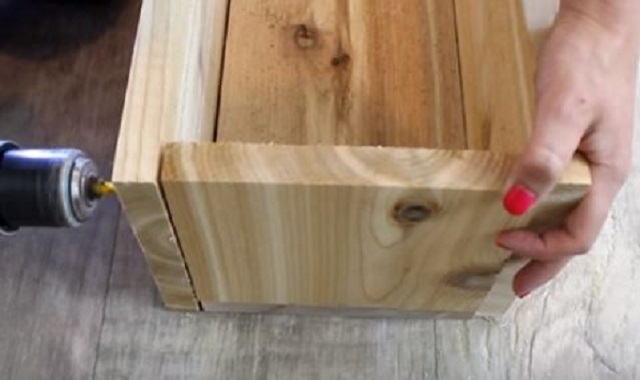
In this image, the ends are inside the channel, flush with the ends:
Securing the ends of a planter box. Image from YouTube video
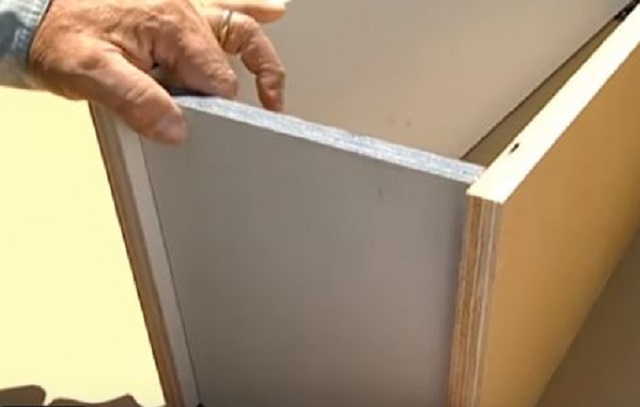
The image below shows a number of different features:
- The box is built using plywood
- A slight recess for the end is used for an aesthetic appearance
- The builder incorporated simple angles (the top is wider than the bottom)
A planter box with recessed end caps. Image from YouTube video
There are several different designs for window planter boxes, but they all utilize the same basic assembly process.
So far you have learned how to measure, cut, and assemble your window planter boxes.
Don't forget to add some drain holes in the bottom.
And the best news is...
Now you are ready to finish your beautiful project!
6. Priming, painting, staining, and making it beautiful
Now it is time to make your project look beautiful!
If you selected a painted model, grab that paint brush and get handy!
It is important to treat your box with a good primer before applying the finish coat.
If you opted for staining your project, grab the stain.
Most of the videos we have shown throughout this piece have explained painting and staining, so we won't bore you with that.
We will state that your artistic abilities can come into play.
A simple, white box can be painted with birds, plants, a landscape, seascape, or anything your heart desires!
Planter box with large flowers painted on it. Image: Public Domain via Public Domain Pictures
Unleash your creativity and let the paint flow!
If you don't like your design, just paint over it and start again!
If you prefer decoupage, that is also an option. Just make sure that you treat your finished product using products rated for exterior use.
These window planter boxes are your creation!
They will have your signature on them.
Sign them with a flourish!
Just a side mention -- Bob Ross is now on Netflix...
7. Hanging your window planter boxes
There are many ways to hang window planter boxes.
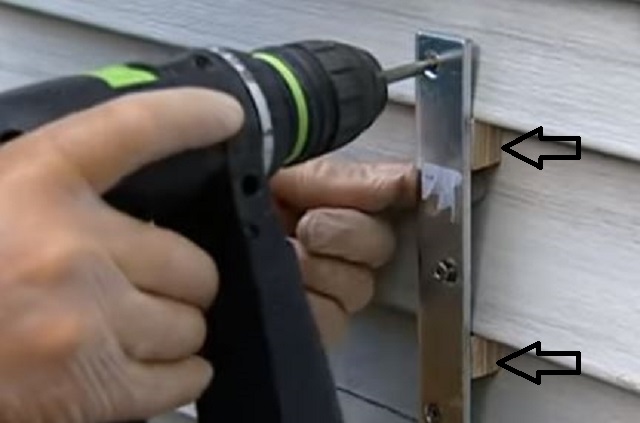
Mounting L-shaped brackets on siding using simple spacers will keep the attaching screws from buckling, or crushing, your siding:
Image from YouTube video
Some planter box designs have an extended end board and mount to an anchor board attached to your wall. To attach the anchor, you can use a scrap piece of lumber, concrete screws and concrete anchors.
8. Selecting your plants and getting dirty
For this part, you should visit your local garden center.
If you are using a plastic liner or insert for your box, they may have those too.
Image CC BY 2.0 via Wikimedia Commons
They will be able to recommend different types of plants and flowers that will thrive in a window box.
They will also tell you what types of soil, fertilizer, and how much to water your plants.
If you already know all that -- fill that baby with dirt and get planting!
No Frills Basic Window Planter Boxes
Image CC BY 2.0 via Wikimedia Commons
If you want a basic, no-frills window box, the folks over at TwoTwentyOne made one and documented the whole process on their blog. Their results made a stunning addition to the house.
The design offered by TwoTwentyOne can be adapted to fit any size window.
Building Basic Framed-Look Window Planter Boxes
Here is one of the videos where we got some of the above images:
In addition to the above video, DIY Network uses a similar framed design, with extended sides to hide cleat mountings on a brick wall.
These step-by-step instructions show you how to mount cleats and anchor your box, in addition to including many pro tips about every part of the construction process.
Remember that you can make these boxes any size you need to fit your home.
Lattice-Framed Window Planter Boxes
Brittany Bailey from Pretty Handy Girl has done a wonderful breakdown of the process, including design plans for a beautiful lattice-framed two-toned box on Angie's List. This is a very detailed guide from step one to completion.
This is very similar to the framed boxes described above, but the extra lattice strips add a flair that really dresses them up.
These are also very well-suited for two-toned paint to match your house and trim!
Making Your Own Designs
If you got to here and you haven't seen exactly what you want, don't despair.
Making your own designs is pretty simple using the skills and procedures we have already outlined for you.
Do you have an image in your head?
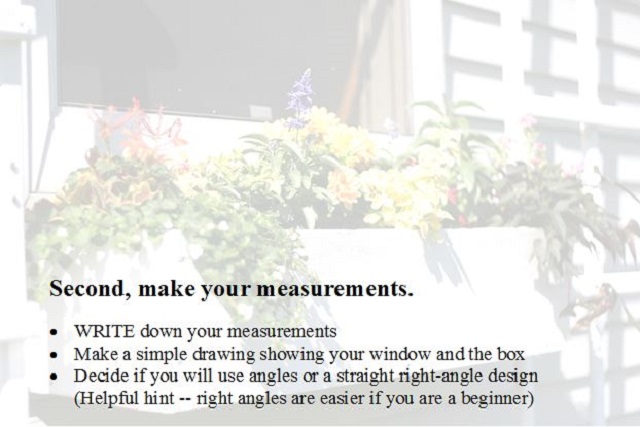
Now you need a sheet of paper or two and a pencil.
It's on paper now.
Congratulations -- you made your own design!
Now you're ready to make that mess we promised you earlier!
You have everything you need.
Check out the video below:
Making Your Planter Boxes Last Longer
You just spent several hours building your window planter boxes, and you want them to last a long time, right?
While many of the plans mentioned included steps to seal your boxes, we wanted to take some time to remind you of that step.
Using a silicone caulk or sealer around the inside edges of your box will increase its life. Make sure you purchase a paintable caulk (it will say it on the label).
Something that is also helpful, especially with the MCO boxes, is to use a cotton swab to apply silicone around the inside of your drain holes. This allows them to drain more efficiently without the wood soaking up the excess water.
If you are painting -- do not skip the primer coat. A good primer will protect your wood and the paint from peeling, heat, sun, and water damage. Unless you want to be repainting them every summer...
If You Rent But Still Want Planter Boxes
While renting means you can't always make permanent changes to your home; you still have plenty of options available for window planter boxes.
You just have to mount them differently.
And the best part?
Since the mountings aren't permanent, you can take them with you if you move!
So what is this magic we speak of?
Free-standing planter box. Image from YouTube video
Window box brackets from your local home improvement center allow you to hang window planter boxes on the railings of your patio or deck.
Some allow you to hang the boxes from the window frame, but you need to be careful not to damage the sill. They only work with certain types of windows.
You can even add simple legs to your boxes that allow them to stand right on the ground, your patio, or deck without modifying the structure.
For this design, you can use new or reclaimed fence boards.
This simple, stand-alone box is beautiful and inexpensive!
It requires a few different tools, but the results are stunning:
There is no limit to making your home a beautiful wonderland of flora with window boxes and stand-alone planters.
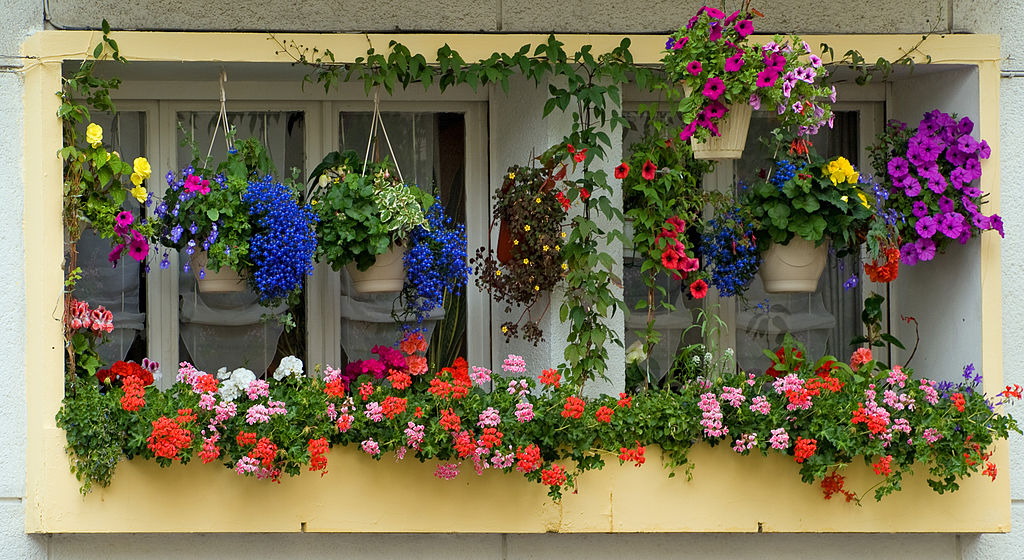
Window boxes and hanging planters add a lot of color. Image CC BY-SA 2.0 via Wikimedia Commons
This gorgeous free-standing planter box is made from a recycled pallet! Although it doesn't include a video, there are plenty of images to guide you through the project.
Just jump in and create!
You Have The Basic Knowledge -- Go Forth And Create!
If you have never made a single thing on your own, don't fret.
Head on down to your home improvement store.
They have classes -- and they're FREE -- that give you the basics on projects.
If they don't have window planter boxes, select a similar project and attend that class.
The knowledge you gain will easily transfer to multiple projects.
Quick links to online resources
Hunker has quick, easy plans for making window planter boxes from pallets.
Popular Mechanics has outlined the steps for a simple angled front window box. They even show you how to make your own hanging brackets!
Handmade Home shares a wonderful and easy square frame design custom made to dress up four side-by-side windows. The boxes add color and a welcome breath of freshness to an otherwise drab exterior. They also include a video, which we used some screen captures from above.
This design from The Spruce uses corbels to mount the planter box but offers a less expensive alternative too.
Don't neglect Pinterest in your search. While we tend to avoid it because of the rabbit-hole effect (I lose hours there when I go to check one thing...), it is an invaluable resource for ideas, examples, and to get those creative juices flowing. I tend to set a simple kitchen timer for 20 minutes, so I don't get too lost while perusing the fantastic content available there.
Image CC BY-SA 2.0 via Wikimedia Commons


Leave a Reply